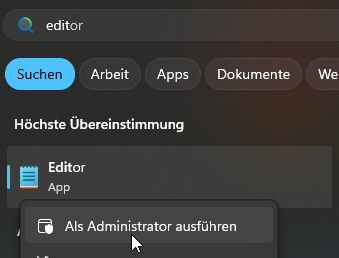
Öffnen Sie zunächst einen Text-Editor als Administrator auf Ihrem lokalen PC. In diesem Beispiel verwenden wir den Build-in Text-Editor von Windows (Notepad).
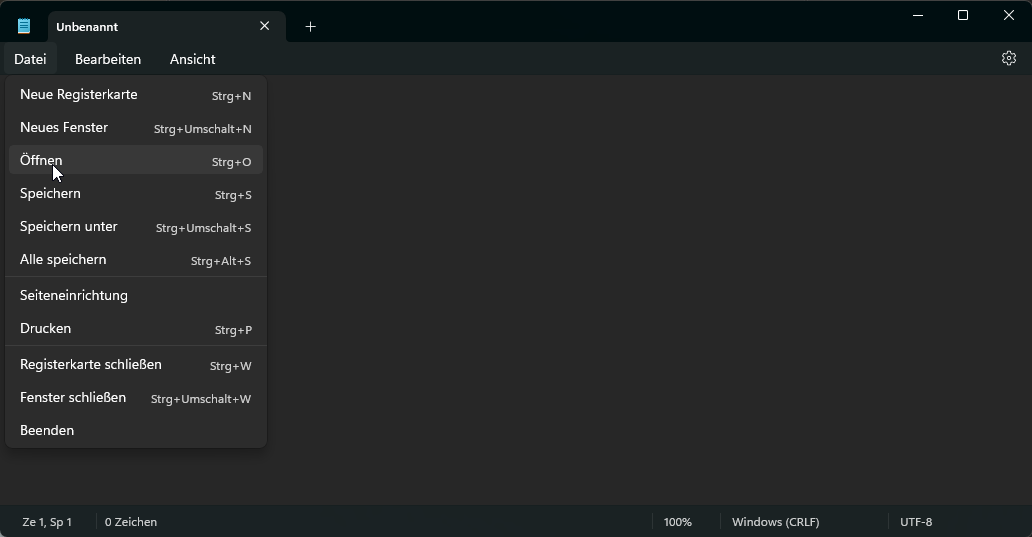
Nun gehen Sie auf => .
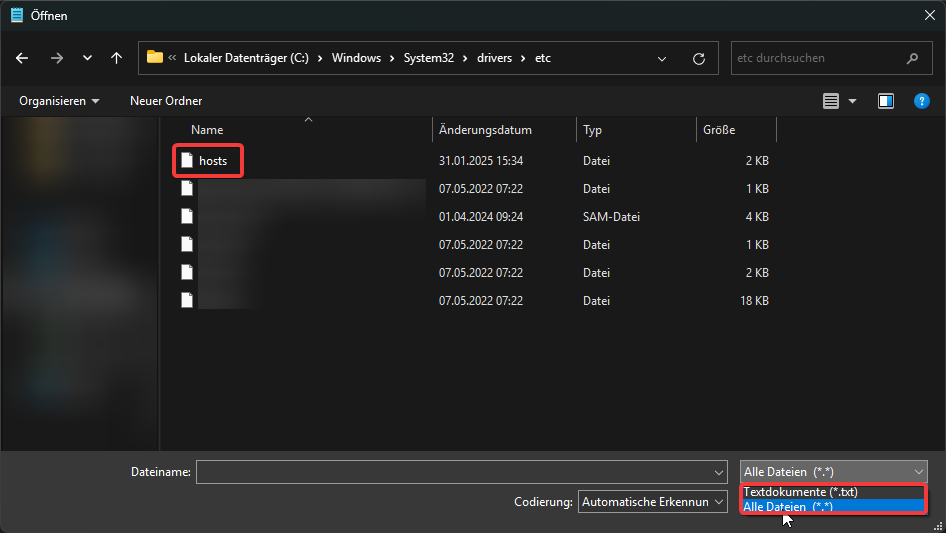
Hier gehen Sie dann in das Verzeichnis C:\Windows\System32\drivers\etc\. Nun wählen Sie die Datei mit dem Namen hosts aus. Sollten Sie diese nicht sehen, wählen Sie im Explorrer unten rechts im dropdown alle Dateien aus .
Nun steht etwas Ähnliches wie nachfolgendes in Ihrem Editor:
|
1 2 3 4 5 6 7 8 9 10 11 12 13 14 15 16 17 18 19 20 21 |
# Copyright (c) 1993-2009 Microsoft Corp. # # This is a sample HOSTS file used by Microsoft TCP/IP for Windows. # # This file contains the mappings of IP addresses to host names. Each # entry should be kept on an individual line. The IP address should # be placed in the first column followed by the corresponding host name. # The IP address and the host name should be separated by at least one # space. # # Additionally, comments (such as these) may be inserted on individual # lines or following the machine name denoted by a '#' symbol. # # For example: # # 102.54.94.97 rhino.acme.com # source server # 38.25.63.10 x.acme.com # x client host # localhost name resolution is handled within DNS itself. # 127.0.0.1 localhost # ::1 localhost |
Hier können Sie nun wie in nachfolgendem Beispiel gezeigt, eigene Domänen Namen eintragen:
|
1 2 |
81.90.33.168 eine-tolle-domäne.de 81.90.33.168 www.eine-tolle-domäne.de |
Beachten Sie, das diese Änderungen nur an dem PC gültig sind, an dem Sie diese vorgenommen haben.